How To Repair Snow Blower Electric Starter
Technology
Welcome to Screens Unlimited, your trusted source for all your lawn and garden equipment repair needs. In this comprehensive guide, we will provide you with step-by-step instructions on how to fix the electric starter on your snow blower. Whether you're a professional landscaper or a dedicated homeowner, this guide will help you get your snow blower up and running again in no time.
Why is the electric starter not working?
Before we dive into the repair process, let's understand why the electric starter on your snow blower might not be working. There could be various reasons, including:
- Faulty electrical connection
- Worn-out starter motor
- Dead battery
- Defective starter solenoid
- Broken drive gear
- Loose or damaged wiring
Step-by-step guide to repairing the electric starter
Follow these detailed steps to troubleshoot and fix your snow blower's electric starter:
Step 1: Check the electrical connections
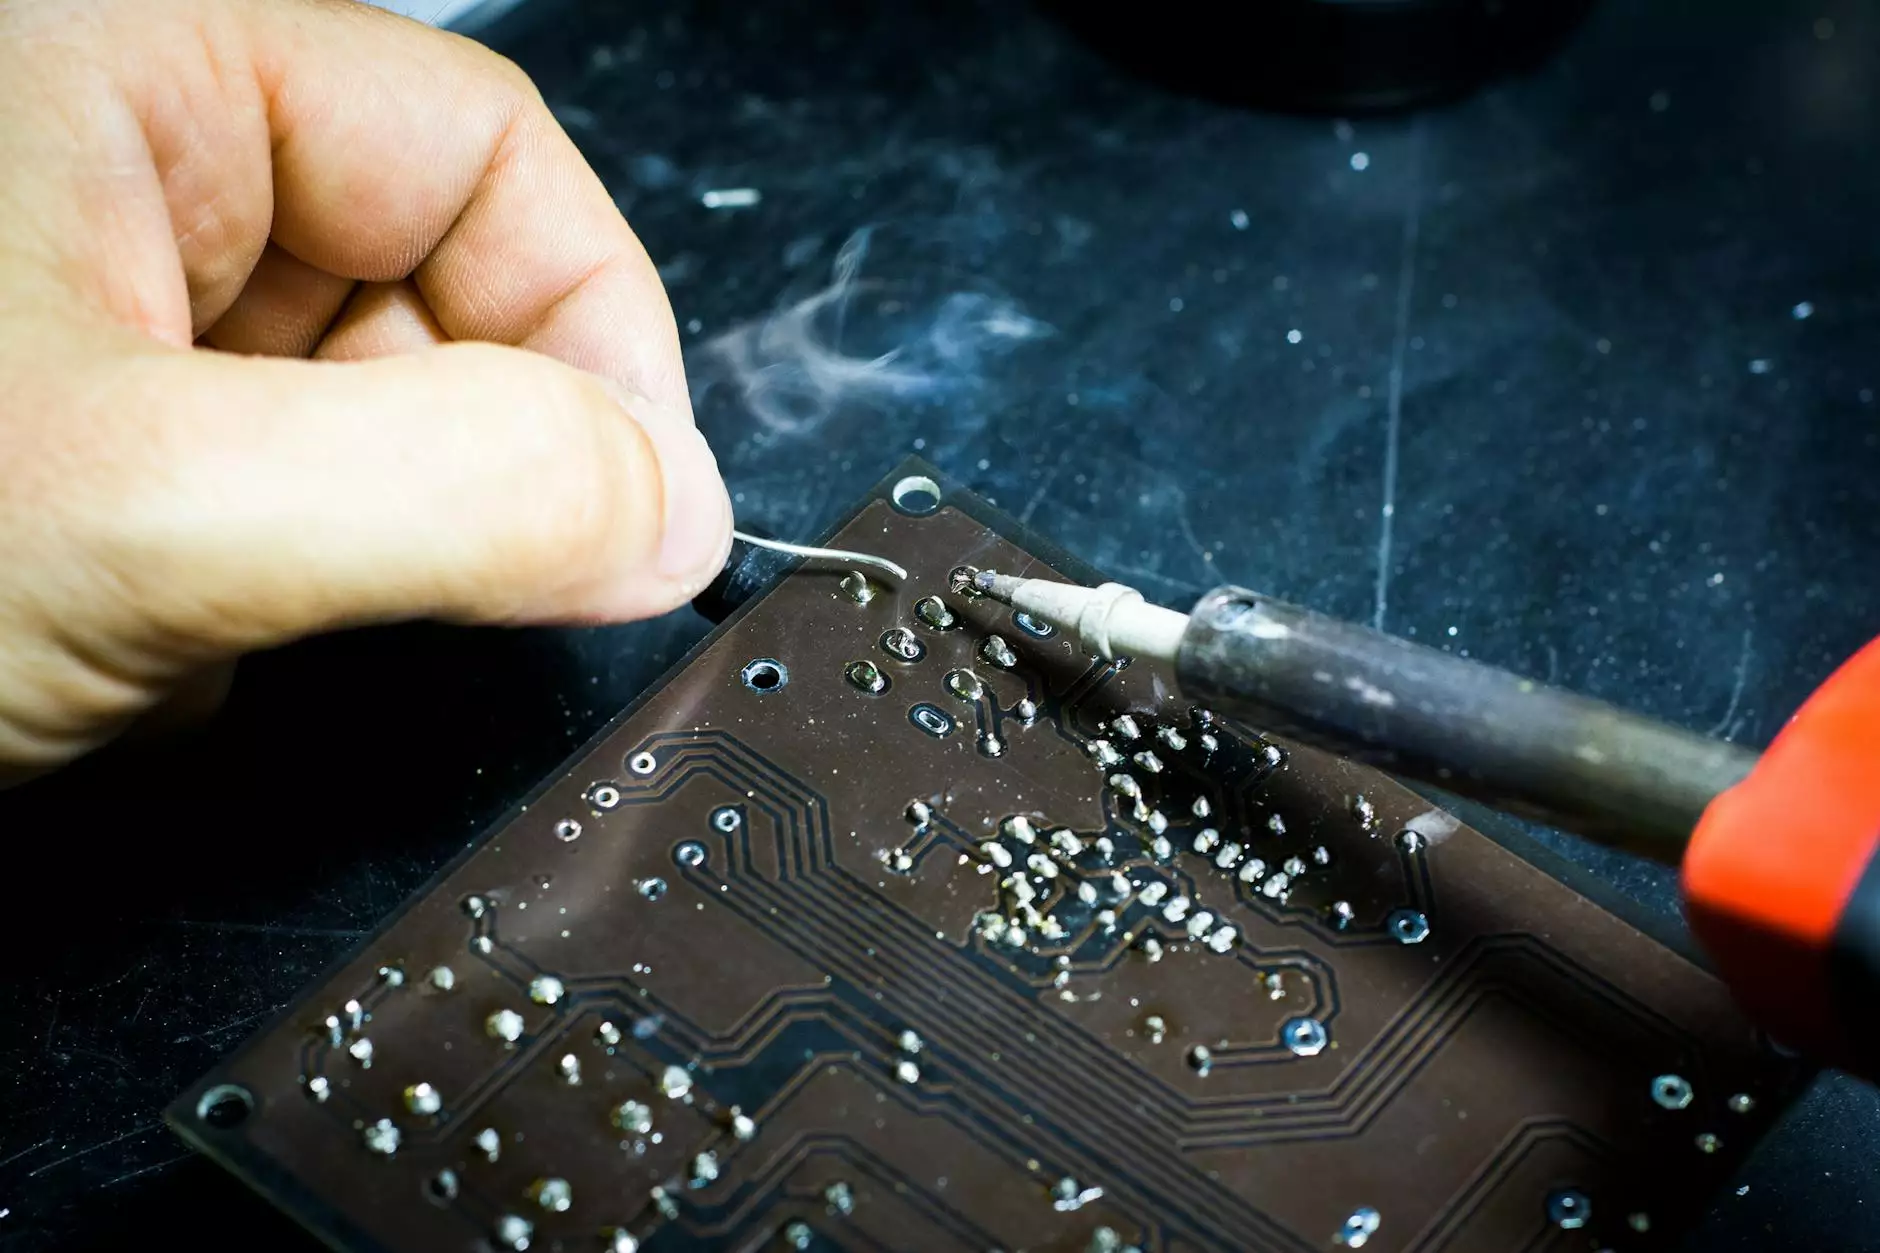
Start by inspecting all the electrical connections in the starter circuit. Look for loose or corroded connections and tighten or clean them as necessary. Faulty connections can prevent the electric starter from receiving sufficient power to operate.
Step 2: Test the battery
Using a multimeter, check the voltage of the battery to ensure it is not dead or discharged. If the battery voltage is low, try recharging it or replace it entirely if necessary.
Step 3: Examine the starter motor
The starter motor is responsible for turning the engine over to start the snow blower. Inspect the starter motor for any signs of wear or damage. If you notice any issues, such as worn-out brushes or a damaged armature, it may be necessary to replace the starter motor.
Step 4: Test the starter solenoid
The starter solenoid acts as a switch that sends electrical current from the battery to the starter motor. Test the solenoid by using a multimeter or a jump wire to bypass it. If the starter motor works fine when bypassing the solenoid, it indicates a faulty solenoid that needs to be replaced.
Step 5: Inspect the drive gear
The drive gear connects the starter motor to the engine's flywheel. Check if the drive gear is in good condition and properly aligned. A broken or misaligned drive gear can prevent the starter motor from engaging, leading to electric starter failure.
Step 6: Check the wiring
Thoroughly examine the wiring harness from the battery to the starter for any signs of damage or wear. Replace any frayed, cracked, or broken wires. Faulty wiring can disrupt the flow of electrical current and cause the electric starter to malfunction.
Troubleshooting tips
If you have followed all the steps above and are still experiencing issues with your snow blower's electric starter, here are some additional troubleshooting tips:
- Ensure the ignition switch is in the "On" position.
- Check for blown fuses and replace them if necessary.
- Inspect the starter button for any damage or malfunction.
- Verify that the spark plug is in good condition and properly connected.
- Clean the carburetor and ensure a proper fuel supply.
- Consult the snow blower's user manual for specific troubleshooting steps.
Conclusion
Congratulations! You have successfully learned how to repair the electric starter on your snow blower. By following the step-by-step instructions outlined in this guide and applying the troubleshooting tips, you can save time and money by fixing the issue yourself. If you encounter more complex problems, feel free to reach out to Screens Unlimited, the experts in lawn and garden equipment repairs. We offer professional services and can assist you in getting your snow blower back in working order.
Remember, Screens Unlimited is your go-to source for all your lawn and garden equipment repair needs. Trust us to provide you with reliable guidance and top-notch solutions. Stay tuned for more useful repair guides and tips!


