How To Repair Tiller When Tines Do Not Move

Introduction
Welcome to Screens Unlimited, your go-to source for professional repair services for lawn and garden equipment. In this guide, we will discuss how to troubleshoot and repair a tiller when the tines do not move. When your tiller's engine runs but the tines fail to rotate, it can be frustrating. However, with the right knowledge and guidance, you can save time and money by fixing it yourself.
Understanding the Issue
Before diving into the repair process, it's important to understand the potential reasons behind the tines not moving. This will help you diagnose the problem accurately and follow the necessary steps for repair. Some common causes include:
- Damaged drive belt
- Worn-out transmission
- Jammed or broken tines
- Malfunctioning clutch or engagement mechanism
Step-by-Step Repair Guide
1. Inspection and Safety Precautions
Start by ensuring your tiller is powered off and disconnecting the spark plug wire for safety. Then, visually inspect the tiller, checking for any visible damage or signs of wear. It's essential to wear appropriate protective gear, including gloves and safety glasses, during the repair process.
2. Checking the Drive Belt
The drive belt is responsible for transferring power from the engine to the tines. Over time, it can become worn or damaged, leading to a loss of rotational force. Locate the drive belt and examine it closely. Look for signs of wear, such as fraying or cracking. If the belt appears damaged, it will need to be replaced.
3. Inspecting the Transmission
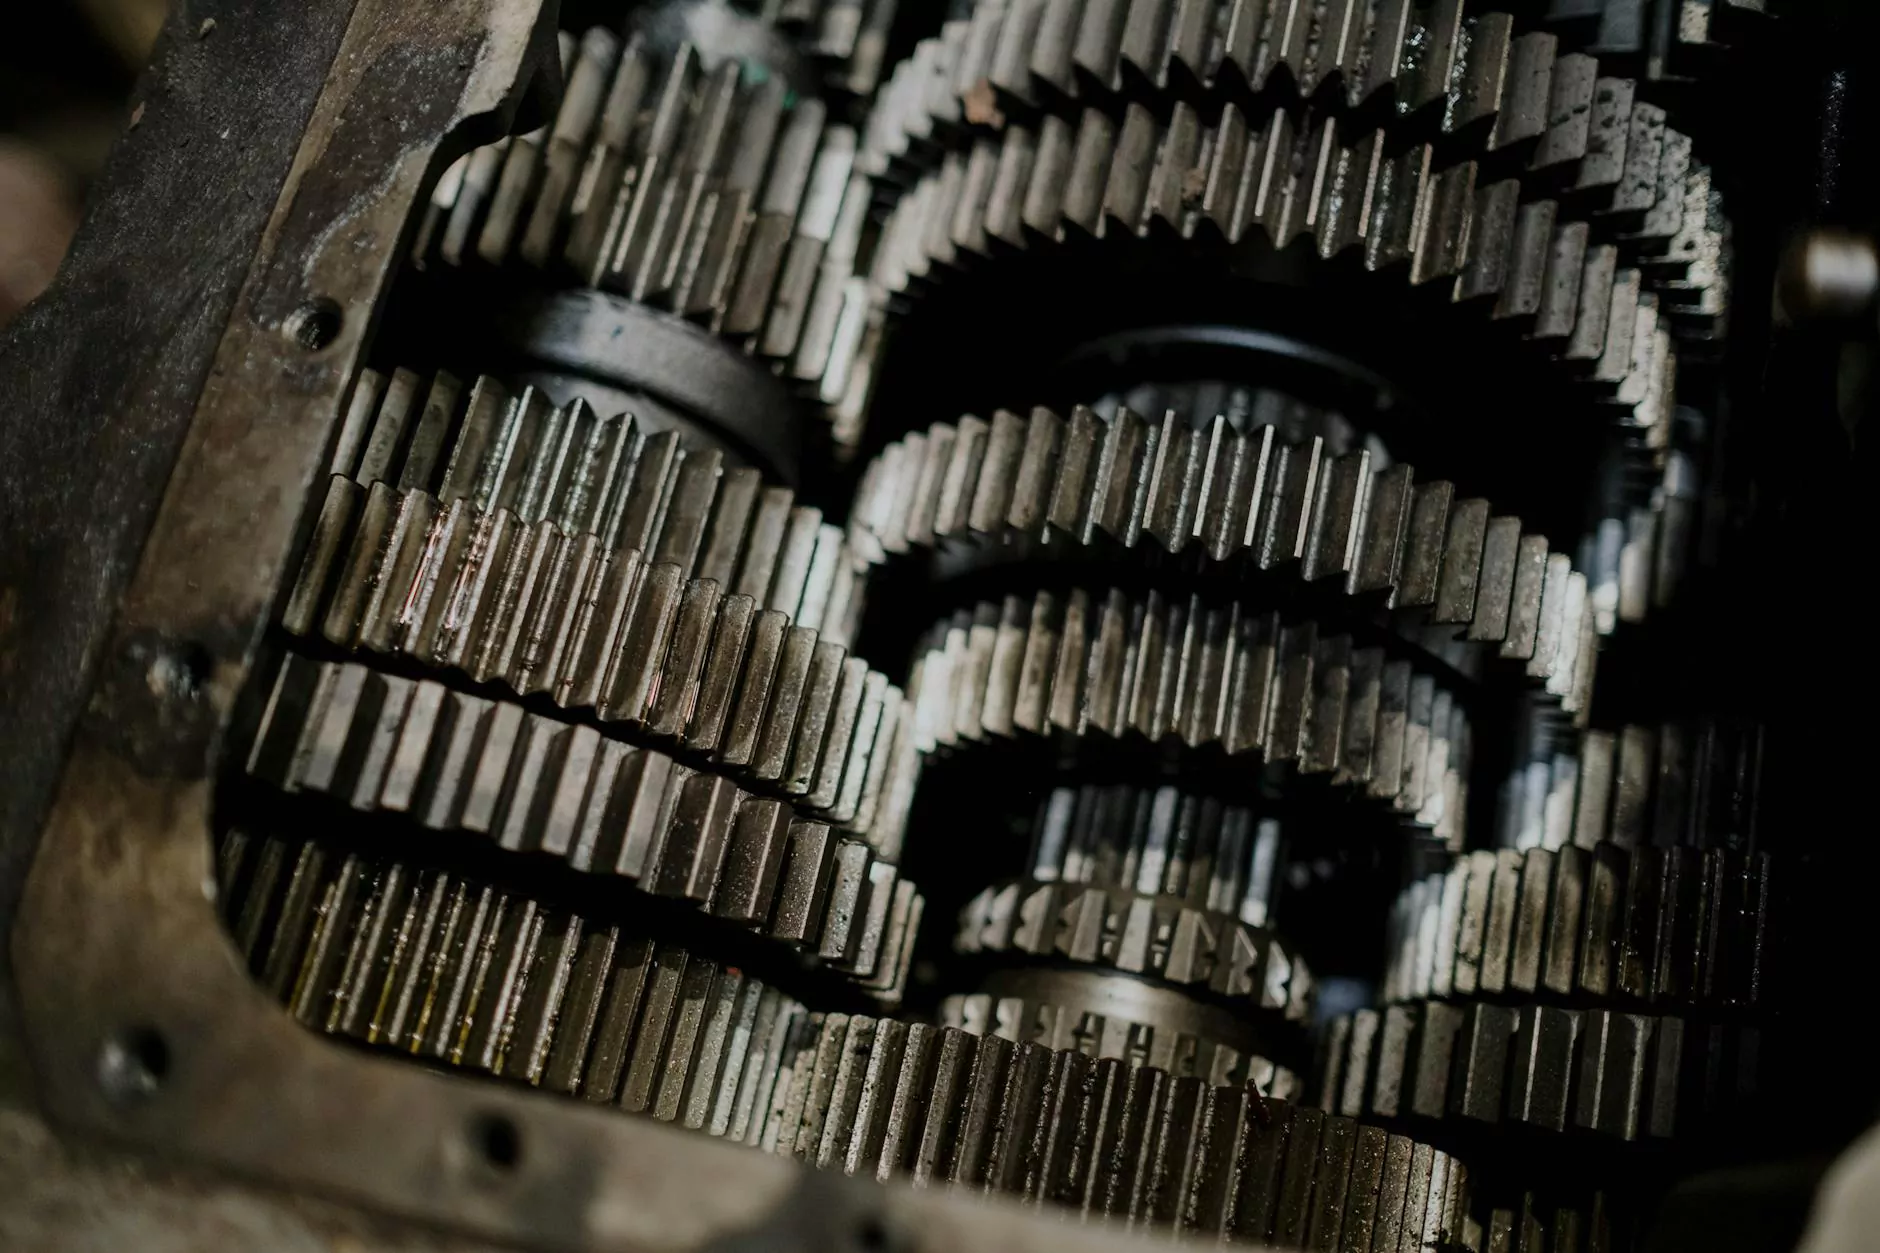
If the drive belt seems to be in good condition, the next step is to inspect the transmission. The transmission transfers power from the engine to the tines. Check for any leaks or signs of damage, as these can affect the rotational movement. If the transmission is faulty, it may require professional repair or replacement.
4. Checking the Tines
Inspect the tines carefully, looking for any obstructions, jammed rocks, or foreign objects that may be preventing them from rotating. Remove any debris or clear any blockages that you find. Additionally, assess the tines for any signs of damage or wear. Bent or broken tines will need to be replaced.
5. Clutch and Engagement Mechanism
The clutch and engagement mechanism allow you to control the movement of the tines. If these components are malfunctioning, it can result in the tines not moving. Check the clutch cable, linkage, and the engagement lever for any misalignment or damage. Lubricate the moving parts as necessary and make any adjustments to ensure proper engagement.
6. Reassembly and Testing
Once you have addressed the identified issues, carefully reassemble all the components. Ensure that everything is properly aligned and tightened. Reconnect the spark plug wire and start the tiller. Test the tines to verify if they now move as expected. If they still do not move, it may be necessary to seek professional repair services.
Contact Screens Unlimited for Professional Assistance
If you encounter challenges or are unsure about any step in the repair process, the skilled technicians at Screens Unlimited are here to help. Our experience in repairing lawn and garden equipment makes us the trusted choice in the industry. Contact us today for comprehensive solutions and expert guidance.
Conclusion
Repairing a tiller when the tines do not move requires careful inspection, diagnosis, and targeted repairs. By following the steps outlined in this guide, you can troubleshoot and resolve the issue effectively. Remember to prioritize safety and consult professionals like Screens Unlimited when needed. Proper maintenance and timely repairs will help you keep your lawn and garden equipment functioning optimally for years to come.


